A DIY Guide to Fixing a Leak on a Flat Roof
- Mar 5
- 8 min read
Why Fixing a Flat Roof Leak Quickly Can Save You Thousands

Fixing a leak on a flat roof is something most homeowners can tackle themselves — if they catch it early and know what to look for.
Here's a quick overview of how to do it:
Find the leak - Check for water stains on ceilings, then inspect the roof surface for cracks, blisters, damaged flashing, or blocked drains
Clean and dry the area - Remove debris and let the surface dry completely before applying any repair material
Choose the right patch material - Match it to your roof type (EPDM rubber, felt, asphalt, fibreglass, or concrete)
Apply the repair - Use the appropriate sealant, patch, or flashing tape for your roof material
Test the repair - Pour water over the area or wait for rain, then check inside for any remaining drips
Prevent future leaks - Clear drains, inspect twice a year, and address small issues before they grow
A leaking flat roof isn't just an annoyance. Left untreated, it can lead to mold growth, timber rot, sagging ceilings, and serious structural damage — all of which cost far more to fix than the original leak.
The good news? Most flat roof leaks start small and are very fixable. Think of it like patching a puncture on a bicycle tyre — the process is straightforward once you know where the hole is and what material you're working with.
This guide walks you through everything: spotting early warning signs, locating the source, choosing the right repair method for your specific roof type, and knowing when to call in a professional.

Identifying Early Signs and Locating the Source
Before you can start fixing a leak on a flat roof, you have to find the culprit. Flat roofs are sneaky. Unlike pitched roofs where water generally runs straight down, water on a flat roof can travel laterally between layers of roofing material. You might see a drip in your kitchen, but the actual hole in the roof could be 10 feet away!
Keep an eye out for these early warning signs:
Water Stains: Dark brown or yellow "concentric circle" patches on your ceiling.
Mould and Mildew: A musty smell or visible black spots in the corners of rooms.
Sagging Decking: If the ceiling looks like it’s "dipping," water is likely pooling on top of the drywall or plaster.
Algae or Moss: If you see green stuff growing on your roof, it means water is sitting there long enough to support life.
Alligatoring: This is when the bitumen or asphalt cracks and looks like the skin of an alligator. It’s a sign that UV rays have dried out your roof.

One of the most clever ways to find a leak is by identifying thermal hot-spots. The best time to do this is in the evening after a hot, dry day. As the roof cools down, the areas where water is trapped underneath will hold onto heat longer. If you have an infrared camera (or even just a very sensitive hand), these "hot spots" often reveal exactly where the water is hiding.
If you don't have high-tech gear, use the measurement method. Go inside and measure the distance from the damp spot on the ceiling to the two nearest walls. Then, go up onto the roof and transfer those measurements. Remember: always look "upslope" from the interior stain. Even a "flat" roof has a slight gradient (ideally 1 in 80), and water always follows the path of least resistance.
Pinpointing the source before fixing a leak on a flat roof
If a visual inspection doesn't reveal a clear puncture or tear, it's time for the Water test method. You’ll need a helper for this—one person on the roof with a garden hose and one person inside with a flashlight.
Start at the lowest point of the roof (near the drains) and soak a small area for about 15 minutes. If no drips appear inside, move up to the next section. This "bottom-up" approach ensures you don't accidentally wet a higher leak and think it's coming from below.
While you're at it, pay close attention to:
Flashing: Check the metal or rubber seals around chimneys, vents, and where the roof meets a wall. This is the #1 cause of leaks.
Seams: Look for areas where two sheets of membrane overlap. If the glue or heat-weld has failed, water can be sucked in via capillary action.
Drains: Clear out any leaves or "muck." If a drain is blocked, water will pool, increasing the pressure on your roof membrane until it finds a way through.
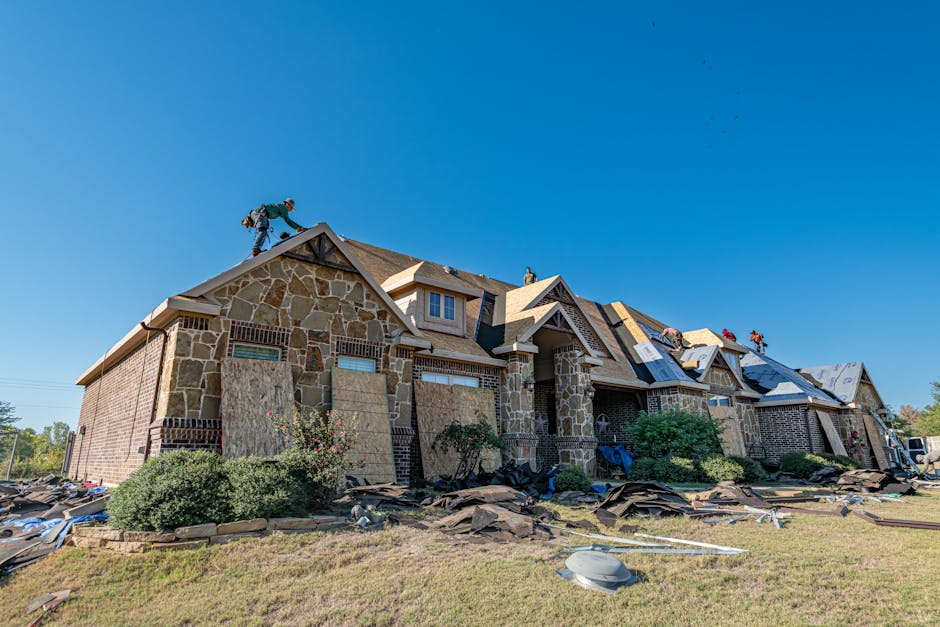
Essential Tools and Safety for Fixing a Leak on a Flat Roof
You wouldn't try to bake a cake without a bowl, and you shouldn't try fixing a leak on a flat roof without the right gear. Depending on your roof type, your "shopping list" might include:
Cleaning Supplies: A stiff brush, a leaf blower, and perhaps some EPDM cleaner or soapy water.
Repair Materials: Roofing cement (mastic), fiberglass mesh, or self-adhesive flashing tape.
Application Tools: A utility knife, a trowel or putty knife, and a caulking gun.
Primers: Bitumen primer for asphalt or felt roofs to ensure the patch sticks.
If you aren't sure which materials match your specific roof, you can find More info about roofing services on our site to help identify your system.
Safety precautions for high-altitude repairs
We want you to fix your roof, not become a patient at the local Lafayette hospital! Safety is paramount when working at height.
Stable Ladders: Ensure your ladder is on level ground and extends at least three feet above the roof edge. Always have a spotter if possible.
Weight Distribution: Flat roofs can have "soft spots" where the wood underneath has rotted. Place a large piece of plywood or a "walk board" across the roof to spread your weight and prevent falling through.
Non-Slip Footwear: Roofs can be incredibly slippery, especially if they are damp or have algae. Wear boots with good grip.
Weather Watch: Never go on a roof during a storm or high winds. Wait for a dry, sunny day when the materials will adhere better anyway.
Fire Safety: If you are using a "torch-on" felt repair method, keep a fire extinguisher within arm's reach. Better yet, consider "cold-applied" methods if you aren't experienced with a blowtorch.
Step-by-Step Repair Methods by Roof Material
Not all flat roofs are created equal. In Northwest Indiana, we see everything from old-school tar and gravel to modern rubber membranes. Here is a quick comparison of what you might need:
Roof Type | Common Repair Material | DIY Difficulty |
EPDM (Rubber) | Self-adhesive rubber patch & primer | Low |
Felt (Bitumen) | Roofing cement & fiberglass mesh | Medium |
Asphalt | Bitumen flashing tape or mastic | Medium |
Fibreglass (GRP) | Resin, catalyst, and glass matting | High |
Concrete | Bitumen primer and liquid sealant | Medium |
Before applying any patch, you must clean and dry the area. Use a leaf blower to get rid of dust and a stiff brush to scrub away moss. If the area is wet, the patch simply won't stick. You can use a towel or even a hair dryer to speed things up!
Check out our Project Gallery to see examples of what these different materials look like when properly installed.
Material-specific steps for fixing a leak on a flat roof
EPDM Rubber Roofs
These are common on modern extensions. If you find a small tear:
Clean the area with EPDM cleaner or gasoline (carefully!).
Apply a rubber primer to an area slightly larger than your patch.
Wait for the primer to become "tacky" (not wet).
Peel the backing off a self-adhesive EPDM patch and press it down firmly.
Use a small roller to get all the air bubbles out from the center to the edges.
Felt and Asphalt Roofs
These often suffer from "blisters" (bubbles of air/moisture).
Use a utility knife to cut an "X" into the blister.
Fold the flaps back and let the area dry out completely.
Apply roofing cement underneath the flaps and press them back down.
Cover the entire "X" with a layer of roofing cement, embed a piece of fiberglass mesh into it, and apply a second layer of cement on top.
Sprinkle some gravel over the wet cement to protect it from the Indiana sun.
Fibreglass (GRP) Roofs
Fibreglass is tough, but it can crack if the building settles.
Sand the area around the crack to give it "tooth."
Wipe it down with acetone.
Apply a layer of resin, lay down your glass matting, and soak it with more resin.
Once cured, apply a color-matched topcoat to make it UV-resistant.
Note: If you are doing a major re-covering of your roof, Building Regulations for insulated re-covered roofs may require you to upgrade your insulation to current standards.
When to Choose Professional Repair Over DIY
We love a good DIY project, but sometimes fixing a leak on a flat roof requires a pro. If you find yourself in over your head, don't hesitate to Contact Us.
You should call a professional if:
The Roof is Old: If your roof is 20-25 years old, a patch is likely just a temporary fix. It may be time for a full replacement.
Extensive Ponding: If you have large "lakes" on your roof that don't disappear within 48 hours of rain, your roof might have structural sagging.
Structural Rot: If you step on the roof and it feels like a trampoline, the wooden joists underneath are likely rotted. This is a major safety hazard.
Specialized Materials: TPO and PVC roofs require a hot-air welder to create a permanent seal. These tools are expensive and require training to use correctly.
Insurance Claims: If your leak was caused by a Northwest Indiana hailstorm, you’ll want a specialist who can document the damage for your insurance company.
Cost analysis: Repair vs. Replacement
Small DIY repairs are incredibly affordable—usually between $20 and $100 for materials. If you hire a professional for a minor repair, expect to pay between $300 and $1,000 depending on the complexity.
On average, professional flat roof repairs cost between $5 and $10 per square foot.
When does replacement make more sense?
The 15-Year Mark: If your roof is over 15 years old and starts leaking in multiple places, you could spend thousands on "band-aid" repairs over the next few years. Investing that money into a new EPDM or TPO system with a 20+ year warranty is often the smarter financial move.
Energy Bills: Modern flat roofs include better insulation. If your heating bills in Lafayette are sky-high, a new roof could pay for itself in energy savings.
Frequently Asked Questions about Flat Roof Leaks
How long does a typical flat roof leak repair last?
A temporary emergency patch (like roofing mastic applied in the rain) might only last a few months. However, a proper "permanent" repair—like a primed EPDM patch or a correctly applied fibreglass resin—can last as long as the rest of the roof, often 10 years or more. The key is surface preparation; if you skip the cleaning and priming, the patch will peel off the first time the temperature swings from 90°F to 20°F in a single Indiana day.
Can I fix a flat roof leak in the rain?
Technically, yes, but only as an emergency measure. Most standard sealants won't stick to wet surfaces. However, you can buy "wet-patch" or emergency asphalt mastic that is designed to displace water. This will stop the drip tonight, but you should go back and do a proper, permanent repair once the sun comes out. Another option is to secure a weighted tarp over the suspected area until things dry out.
Why does water pool on my flat roof after it rains?
This is called "ponding." It happens because of a lack of gradient (it should be at least 1 in 80), blocked drains, or compressed insulation. While a little bit of water is normal, standing water for more than 48 hours is a problem. It adds immense weight to your structure and accelerates the breakdown of your roof membrane. Sometimes, installing "tapered insulation" or adding eave vents to equalize pressure can solve the problem.
Conclusion
Fixing a leak on a flat roof doesn't have to be a nightmare. By catching the signs early—like those annoying brown stains or "alligator" cracks—and using the right materials for your specific roof type, you can protect your home and your wallet.
Whether you're in Lafayette, Lake County, or anywhere in Northwest Indiana, Quad-County Roofing is here to help. Our in-house crews are insurance specialists who handle everything from 24/7 emergency repairs to full commercial installations. We believe quality roofing should be accessible, which is why we offer affordable financing starting as low as $89/mo.
Don't let a small drip turn into a big disaster. Book Online or Schedule your professional flat roof inspection today and let us give you the peace of mind you deserve.